By Rev. Doug Forbes
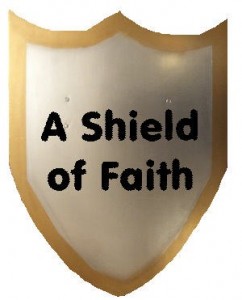
Shields of Faith is a wonderful way to help make Bible stories and great moral lessons come to life for your students. This activity will teach children how to do basic research as well as use their creativity.
 For Shields of Faith you need: Bibles, Bible concordances, pencils, 8 ½ X 11 card stock, fine tipped markers, crayons, glitter glue, string or yarn, a hole puncher, scissors and the pattern of a shield for the children to trace. (Before class take a piece of your 8 ½ X 11 card stock, draw a shield of it and cut it out to make a pattern for the children to trace.)
Ask your students to use their Bibles and concordances to rediscover favorite Bible characters for which they wish to produce a shield. Suggest a few Bible characters to get them started such as: David, Moses, Paul, Queen Esther and Ruth. Allow time for each child to share his or her findings.
Show the children a sample of the shield you would like them to make. For instance, you could make a shield for David by dividing your shield into four quarters and decorating each quarter for a different period of his life. One quarter could be the drawing of a sheep with the Bible reference Psalm 23 to show that David started out as a shepherd caring for his sheep and that later on when he became king he took good care of his people like a shepherd.
On another quarter you could draw a crown to show that David did become king of his people. Next you could have a drawing of praying hands to show David’s devotion to God, and finally you could have a sling to remind the children how David saved his people from the giant with a simple sling. (For younger children you may wish to simply tell them the story of David and have them creatively copy your Shield of Faith using their own decorating ideas.)
Have each young person pick a story that they would like to illustrate, help them trace out their designs, and provide markers, crayons and glitter glue to decorate their shields. Once they are decorated, punch a hole in the top two corners of each shield, give each child a one foot piece of yarn and have them tie one end to each hole so the shield can be hung.
Complement the children for their works of art and hang them on the bulletin board. Encourage parents, guardians and grandparents to come and view all the shields and have their child explain what their individual shield means. You may even wish to take a photo of all the shields together. After a week or two send the shields home to be enjoyed by the whole family.


